Photography
Photographing the northern lights with phone and camera – settings that work
Photographing the aurora is easier than many think – with the right settings. Getting the best out of phone and camera, with starting values instead of jargon.
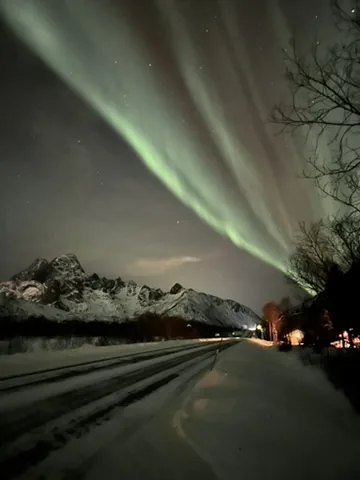
Contents
This article contains advertising (affiliate) links, marked “Ad”. How we label ads
In short: For aurora photos you need stability (a tripod or solid surface), long exposures (1–15 seconds depending on brightness), focus at infinity and warm batteries. Modern phones produce amazing results in night mode when the aurora is bright; pro mode or a camera gives you more control. Prepare everything in daylight – hunting through menus with gloves in the dark costs you the best minutes. As of October 2026.
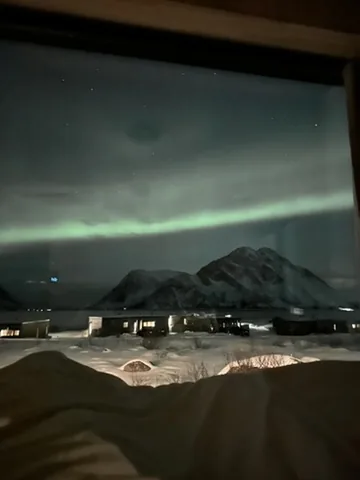
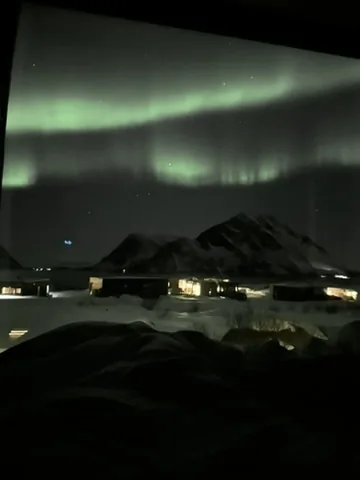
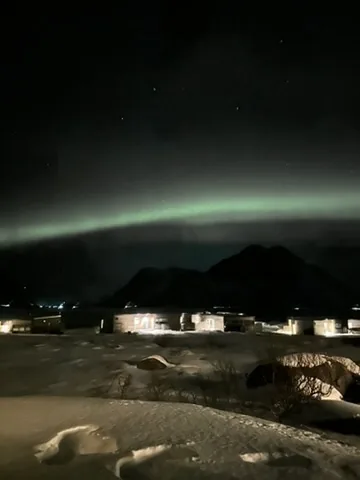
Preparation in the afternoon
- Charge batteries and pack spares or a power bank.
- Free up storage: aurora nights produce hundreds of frames, and RAW files are big.
- Prepare settings: set manual mode and RAW, lower screen brightness, turn off beeps.
- Scout your spot in daylight: where is north, what is in the foreground, where can you park safely?
- Test the tripod: does the phone mount fit? Can you work the legs with gloves on?
With a phone
- Night mode: iPhones (from the models with night mode) and many Android phones switch it on automatically in the dark. On a tripod, many phones automatically choose longer exposures.
- Pro/manual mode (Android): depending on the model, exposure of several seconds up to 30 seconds, adjustable ISO, manual focus at infinity.
- No shake: use a phone tripod or rest the phone on a backpack or car roof; use the 3- or 10-second timer or a remote.
- Flash off, screen dim: lower the screen brightness so your eyes stay dark-adapted.
- Foreground: houses, mountains or roads add depth – choose subjects with little light in the frame.
- Wide angle: the ultra-wide camera captures more sky but is often less sensitive. For faint auroras use the main camera.
With a camera: starting values
| Setting | Starting value | Adjust if … |
|---|---|---|
| Mode | Manual (M) | – |
| Aperture | as wide as possible (e.g. f/1.8–f/2.8) | Stars should be sharper: stop down slightly |
| ISO | 1,600–3,200 | Too dark: higher; too noisy: lower |
| Shutter speed | 2–15 seconds | Aurora moving fast: shorter, to keep structure |
| Focus | manual, on a distant point of light | Zoom into the image on the screen and check |
| White balance | approx. 3,500–4,000 K, or auto and correct later | – |
| File format | RAW (if possible) | – |
| Image stabilisation | off (on a tripod) | – |
| Long-exposure noise reduction | off (otherwise doubles the waiting time) | Denoise later on the computer |
Exposure by situation
| Situation | Shutter speed | ISO (at f/2.8) | Tip |
|---|---|---|---|
| Faint, quiet arc | 10–15 s | 3,200 | Choose a foreground with little light |
| Moderate activity, slow movement | 4–8 s | 1,600–3,200 | Shoot in series |
| Strong, dancing aurora (corona) | 1–3 s | 3,200–6,400 | Short exposures, or the structure blurs |
| Full moon, snowy landscape | 2–6 s | 800–1,600 | The landscape becomes bright and detailed |
| People in the foreground | 2–4 s | 3,200 | Ask them to stand still, add a touch of faint light |
With f/4 lenses you need roughly double the exposure time or one stop more ISO.
Focusing in the dark
Autofocus often fails at night. The easiest way: focus on a bright star, a lit mountain top or a distant street lamp, then switch to manual and do not touch the focus ring again. Live view with magnification makes checking sharpness easy. Tip: once infinity is right, mark the position on the lens with a small piece of tape.
Composition
- Face north, but look up too: during strong activity the aurora is right overhead.
- Rule of thirds: put the horizon in the lower third when the sky is the show.
- Reflections: open lakes and fjords double the aurora – especially good in autumn, see Northern lights in September and October – an autumn trip north.
- Portrait format for bands standing vertically above the horizon; landscape for wide arcs.
- Light sources: a lit house can look lovely, street lamps quickly overpower the scene.
Batteries and cold
Lithium batteries lose a lot of capacity in the cold. Keep spare batteries in an inside pocket close to your body, take a power bank for your phone, and after the night let camera and phone warm up slowly inside a bag so no condensation forms. A rubber band holding a hand warmer around the lens stops the front element fogging up in damp air.
Common mistakes
- Light in the frame: other people’s head torches, car headlights or your own screen. Use red light and be considerate.
- Exposures too long during strong activity: the result is a green smear with no structure.
- Focus knocked off: the focus ring turns in your backpack – reset it.
- Only photographing: look without the camera now and then. You only experience the movement live.
- Tripod on soft snow: push the legs firmly into the snow, or the tripod sinks during the exposure.
Editing – but honestly
Light adjustments to exposure, white balance and noise are normal. Overdone saturation makes auroras look artificial. If you want to show others what it really looked like, stay close to the original. What the eye actually sees is explained in Where and when to see the northern lights. When it is worth heading outside is shown by the forecasts in Understanding the aurora forecast – Kp index, Bz and clouds.
Checklist for the photo night
- Tripod, phone mount, remote release
- Spare batteries on your body, power bank
- Head torch with red light
- Thin gloves for operating the camera, mittens on top
- Microfibre cloth, hand warmer against fogging
- Thermos and a snack – waiting is part of it
The full clothing list: Packing list for −30 °C and the polar night – also with kids.
Frequently asked questions
TipCan you photograph the northern lights with an iPhone?
Yes. With bright auroras, night mode with the iPhone resting on something gives good results. For faint auroras, a longer exposure on a tripod helps.
TipWhy are aurora photos blurry?
Usually camera shake (too long an exposure handheld) or focus. Use a tripod or solid surface, the self-timer and manual focus at infinity.
TipWhich shutter speed is right?
For fast-dancing auroras 1–5 seconds, for quiet, faint arcs 8–15 seconds. Experiment and check the result on the screen.
CostsDo I need an expensive camera?
No. A recent phone is enough for lovely memories. A camera with a fast wide-angle lens is worth it if you want large prints or to capture faint auroras.
Read next
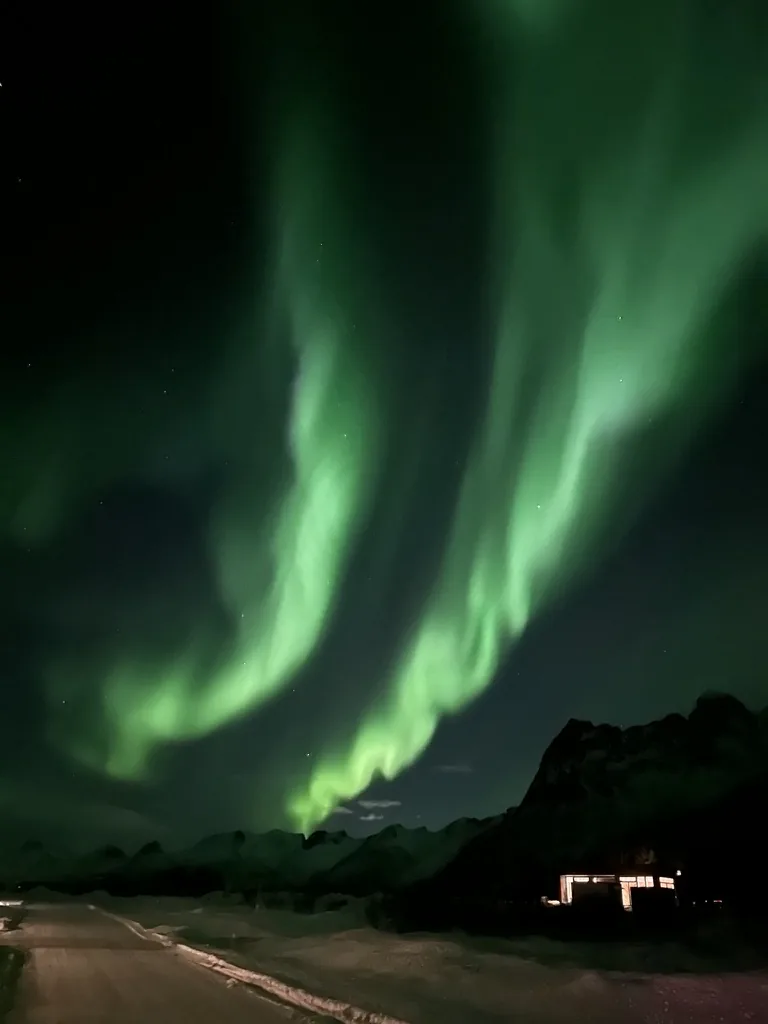
Basics
Where and when to see the northern lights
Darkness, clear skies, a bit of solar activity – and the right place. How to plan your chances of seeing the aurora realistically instead of relying on luck.
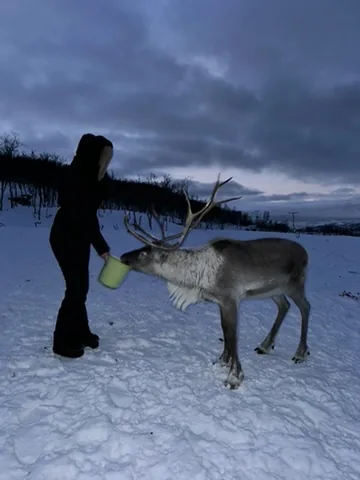
Trip planning
Planning Lapland with kids – season, places, activities, clothing
Reindeer, huskies, snow to the horizon – and temperatures where planning matters. What really counts on a Lapland trip with children.
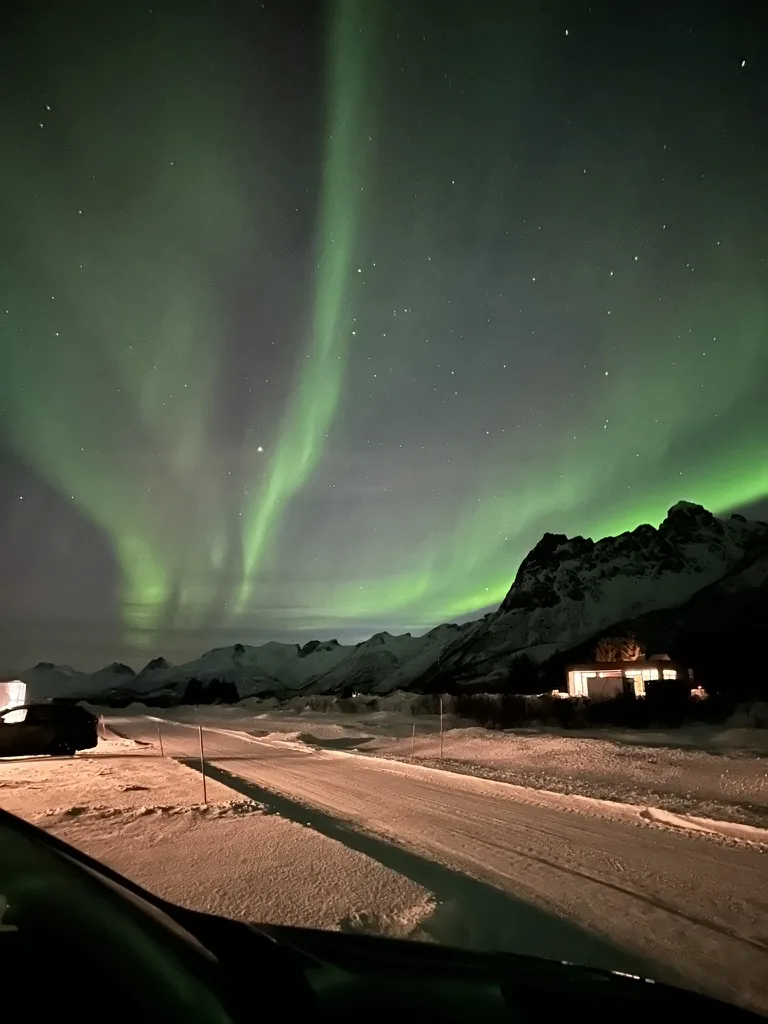
Basics
Understanding the aurora forecast – Kp index, Bz and clouds
Kp 2, Bz negative, 80 percent cloud – what does that mean for tonight? How to read aurora forecasts without getting lost in numbers.